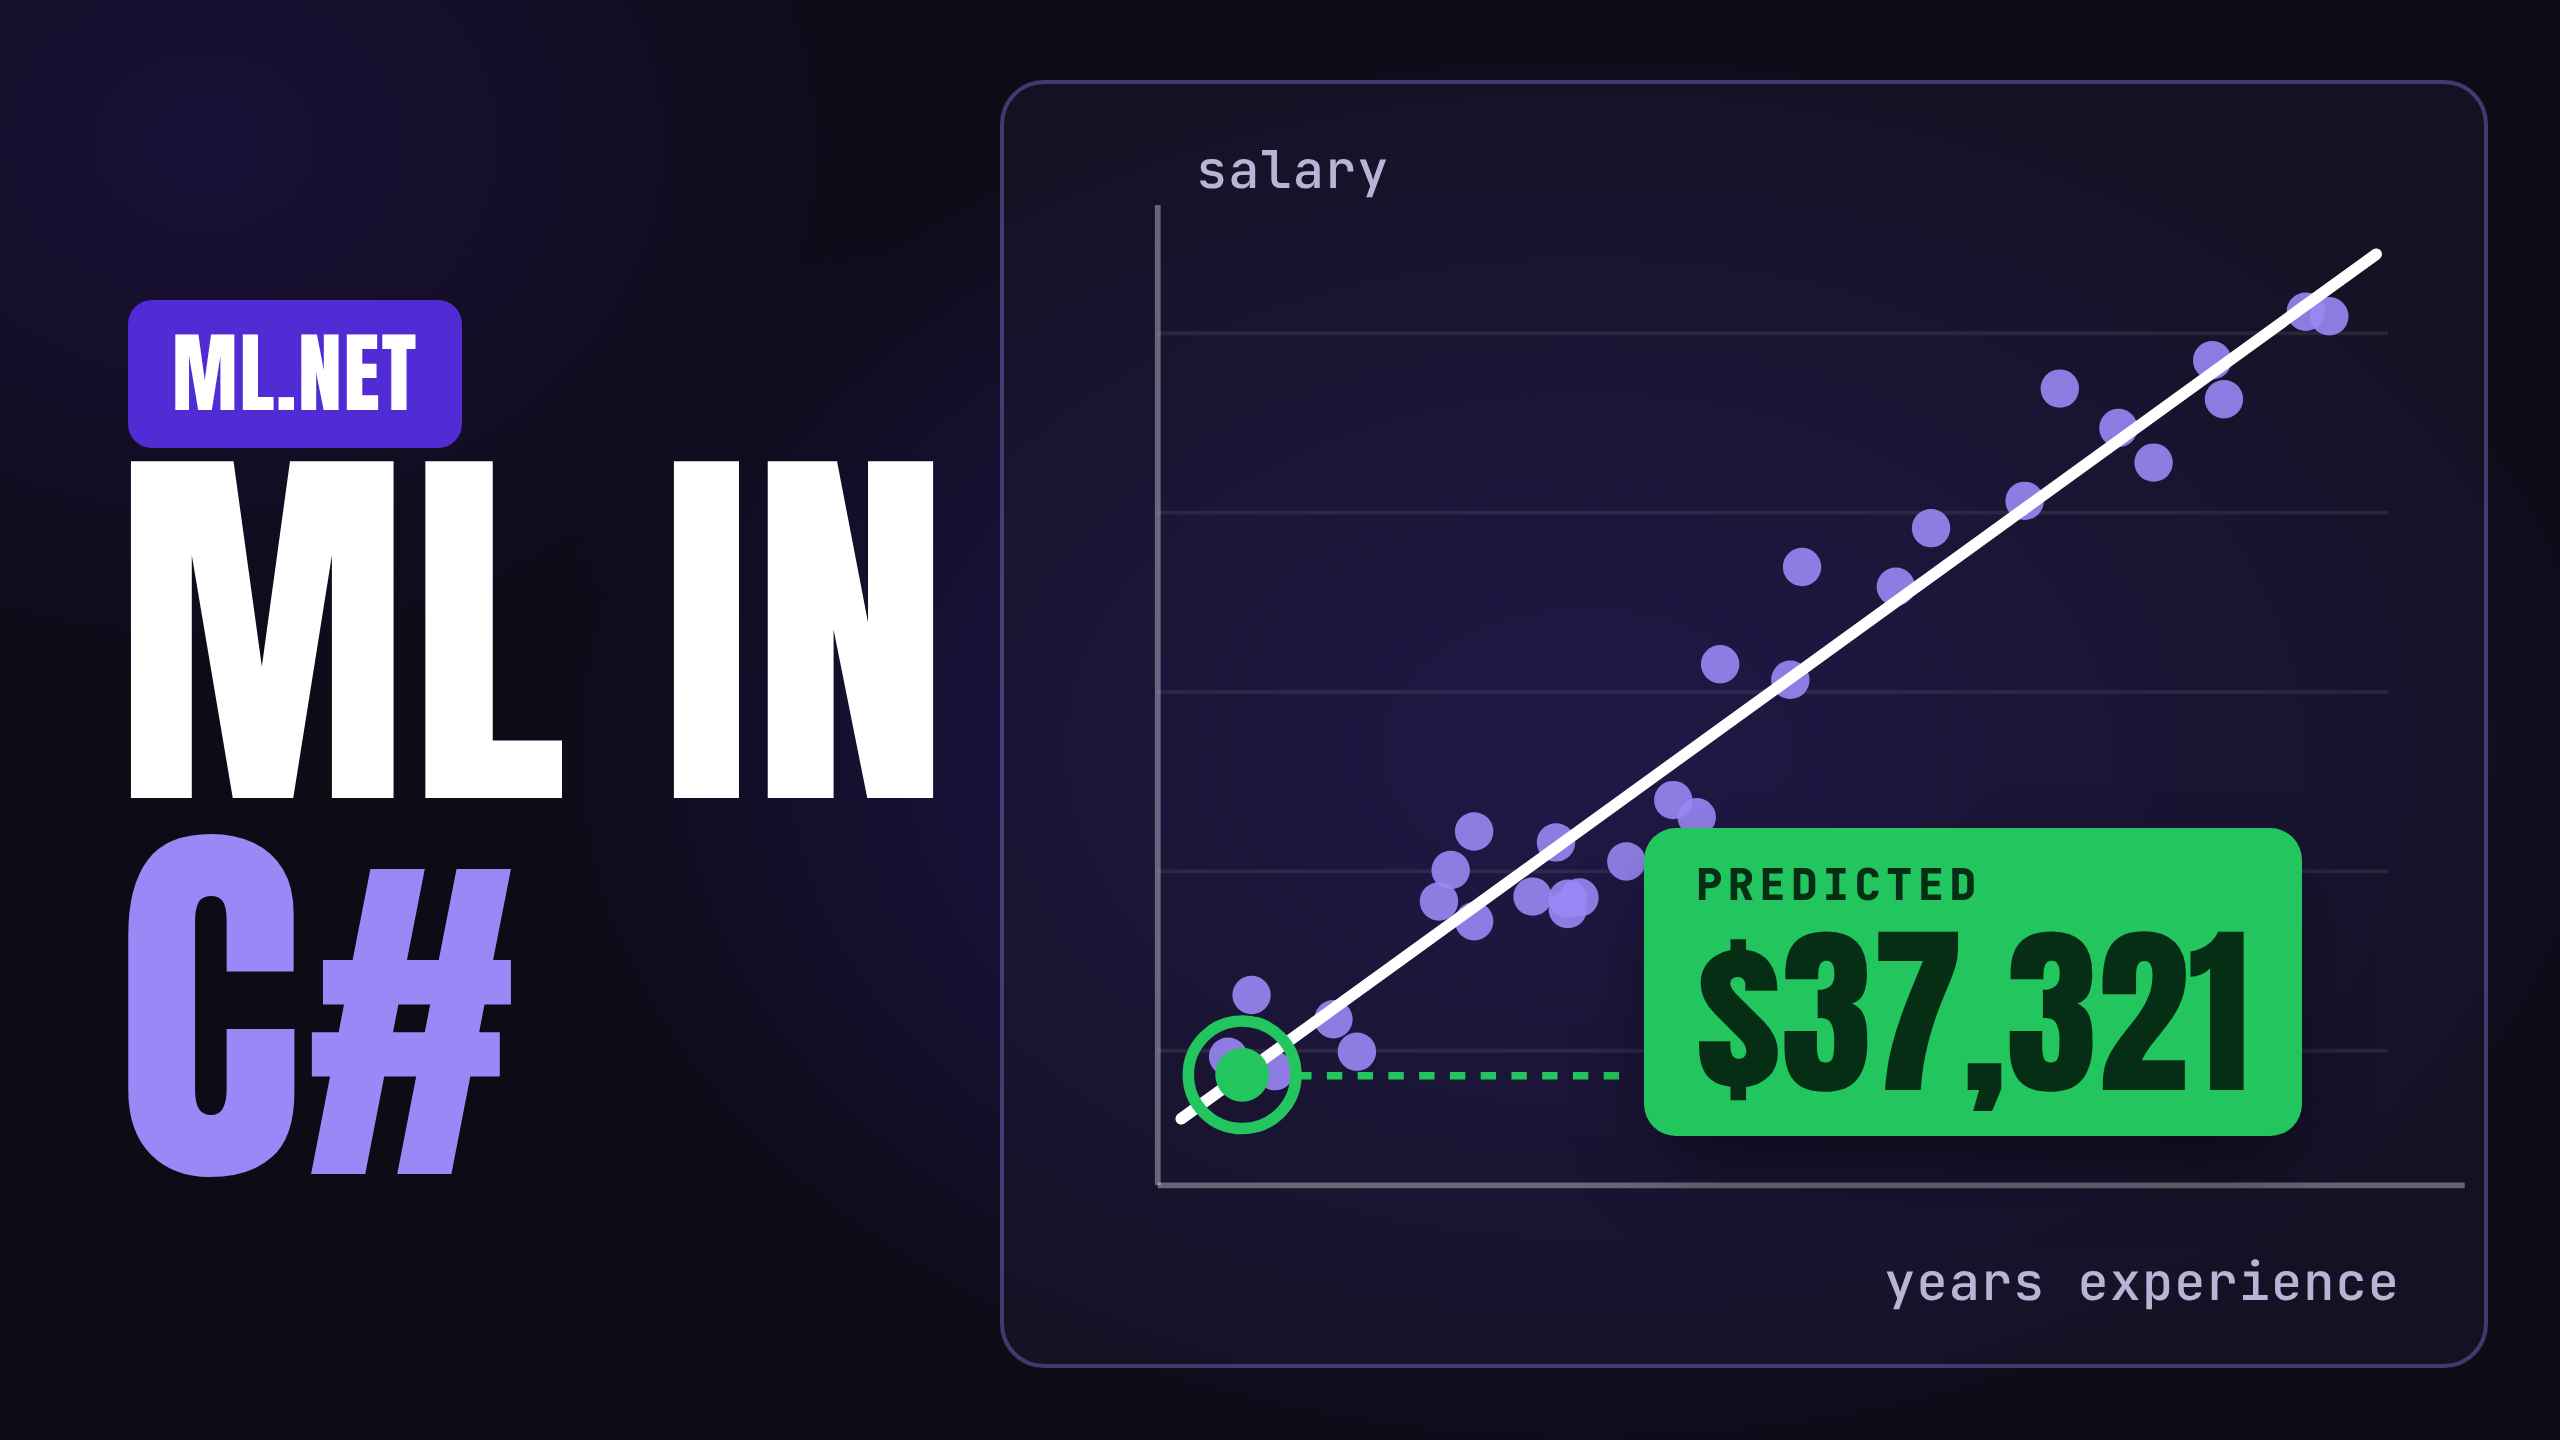

Is ML.NET Still Worth Learning?
Is ML.NET still worth learning? An honest look at where it beats an LLM, where it falls short, and a cheat sheet for choosing the right .NET AI tool.
In this post, we will create a simple salary prediction ML.NET model. We will do this all in one C# file using file-based applications. Along the way we will go over some errors that you may run into while making your own model and how to fix them. The full code for this is on GitHub.
When setting up a file-based C# application the only thing needed is to create a C# file and name it salary.cs. File-based applications were introduced in the .NET 10 SDK so you would need that or a later version installed.
In order to start using ML.NET we need to bring it in as a package.
#:package Microsoft.ML@5.0.1
From there we can bring in the using statement for ML.NET and create our MLContext. The MLContext is what will be used to perform all of our machine learning tasks, including loading data, creating our pipeline, and evaluating our model. We will add a seed to it, which will help make any operations that rely on randomness have more repeatable results among different runs.
using Microsoft.ML;

var context = new MLContext(seed: 42);
With our MLContext we can now start working with our data and on our machine learning model.
The data for the model will be the salary data. That link will download data from the machine learning course for Super Data Science so it will include more data sets if you want to play around with them, as well. Also note that the salary data file name may be different in the downloaded version than what I have here. It’s a very simple CSV that has the years of experience for a developer and the salary that developer gets. Once downloaded the file should be in the same folder as salary.cs. Here’s a sample of the data.
| YearsExperience | Salary |
|---|---|
| 1.1 | 39343.00 |
| 1.3 | 46205.00 |
| 1.5 | 37731.00 |
| 2.0 | 43525.00 |
| 2.2 | 39891.00 |
Based on the CSV we can go ahead and build the structure of our data as a class named SalaryData. Since we’re building this in one file, any class definitions would need to come at the end of the file after any top level statements.
public class SalaryData
{
    public float YearsExperience { get; set; }

    public float Salary { get; set; }
}
With that we can use the MLContext to load the data from a file. Since this CSV has a header row we can set the hasHeader parameter to true. And it has a comma for the separation, so we can set the separatorChar to ',' so it can read the file correctly.
var data = context.Data.LoadFromTextFile<SalaryData>("./SalaryData.csv", hasHeader: true, separatorChar: ',');
However, if we actually run this now with dotnet run salary.cs, we would get an error.
Unhandled exception. System.InvalidOperationException: Property 'YearsExperience' is missing the LoadColumnAttribute attribute
This error occurs because it doesn’t know what column in the dataset to use for each of the properties. To fix this we can add the LoadColumn attribute to each property and it has a parameter to what index the column is in. In order to use the LoadColumn attribute we would need to bring in the Microsoft.ML.Data namespace as a using statement.
public class SalaryData
{
+   [LoadColumn(0)]
    public float YearsExperience { get; set; }

+   [LoadColumn(1)]
    public float Salary { get; set; }
}
With that fixed, we can now split our data. The reason for this is if we train our model with all of the data, when we test it with any of that same data it will predict them with much more accuracy because it has already “seen” that data during training. To get an accurate test of how well the model performs, it needs to be tested with data it hasn’t “seen” yet. Or rather, data that has not been a part of the training set.
To get a split of your data so you can train on one set and test on the other, the TrainTestSplit method can be used on the same context.Data that we used to load the data file. The testFraction tells it what percentage of the data to take as the test dataset. So we will use 20% of the data as our test data. Our dataset is small at only 30 rows, so 20% will be about 4 or 6 of the rows (it’s not exact since the split can be approximate to what is specified in the testFraction so it could be just under or above 20%). This split will be random across the dataset.
var splitData = context.Data.TrainTestSplit(data, testFraction: 0.2);
Now that we have the data loaded and split across training and testing sets, we can build our pipeline. This is a simple pipeline since the data itself is simple, so no data transforms are needed for this dataset other than to get the data in the correct way that ML.NET expects. In fact, that’s the first part of our pipeline. The Concatenate method takes any of the columns from your dataset and concatenates them into one column called Features, which is a standard term for the collection of input columns that make up the dataset that the model will train on. And instead of hardcoding YearsExperience we’re using the nameof operator to make sure it always matches what’s in the SalaryData class.
var pipeline = context.Transforms.Concatenate("Features", nameof(SalaryData.YearsExperience));
After any of the data transformation steps for your pipeline, you can now append on a trainer or what machine learning algorithm you want to use for your data. For this model we will use the SDCA, or Stochastic Dual Coordinate Ascent, algorithm. We are passing in the labelColumnName here to specify that the Salary column is the column we want to predict. By default, it expects a column named Label so this overrides that default.
-var pipeline = context.Transforms.Concatenate("Features", nameof(SalaryData.YearsExperience));
+var pipeline = context.Transforms.Concatenate("Features", nameof(SalaryData.YearsExperience))
+    .Append(context.Regression.Trainers.Sdca(labelColumnName: nameof(SalaryData.Salary)));
To actually build our model we need to “fit” it to our data with the Fit method on the pipeline. This method will use the steps in the pipeline across all of the items in the data that we provide it. In this case it will be the train dataset.
var model = pipeline.Fit(splitData.TrainSet);
Now that we have our model, let’s evaluate it based on the test set to see how well it performs.
To evaluate and get some metrics on our model to see how well it does against new data, or data it hasn’t seen before, we can use the Evaluate method. Since we’re using a regression model, it will be on the context.Regression property. Other classes of machine learning problems, like classification or clustering, will have their own Evaluate methods as well.
You may be tempted to evaluate on the test set by passing it into the Evaluate method.
var metrics = context.Regression.Evaluate(splitData.TestSet);
However, if we were to run that it will fail with an exception.
Unhandled exception. System.ArgumentOutOfRangeException: Could not find label column 'Label' (Parameter 'inputSchema')
While this error mentions that it’s missing the Label column, there’s still a more subtle error happening that could be hard to spot. Similar to what the Fit method did on our training set where it performs the steps of our pipeline in that data, we need to do the same for our testing set. To do that we can use the Transform method.
var testPredictions = model.Transform(splitData.TestSet);
And now we can pass in the results of that into the Evaluate method.
var metrics = context.Regression.Evaluate(testPredictions);
But if we run that, we get the same error. What’s going on? The error message indicates that it expects a column named Label. How do we get that?
There are a few ways to fix this. First, we can pass in the name of the column we want to use as our label using the labelColumnName parameter in the Evaluate method. This allows us to specify what property on our data class to use as the label which gives it some extra readability to our code.
var metrics = context.Regression.Evaluate(testPredictions, labelColumnName: nameof(SalaryData.Salary));
Another fix is to specify on the data class a property named Label. So instead of having the Salary property we could rename it to Label. If we do this, though, we wouldn’t need the labelColumnName parameter in the trainer method.
public class SalaryData
{
    [LoadColumn(0)]
    public float YearsExperience { get; set; }

    [LoadColumn(1)]
    public float Label { get; set; }
}
Similarly, you could use the ColumnName attribute where you can keep the name of the property as “Salary” but ML.NET will know that it is the Label column. This approach is what I recommend to do because it keeps the property in the name you want to use for readability, but internally it passes it as the Label column name when used in the ML.NET APIs.
public class SalaryData
{
    [LoadColumn(0)]
    public float YearsExperience { get; set; }

    [LoadColumn(1)]
+   [ColumnName("Label")]
    public float Salary { get; set; }
}
Using the ColumnName("Label") attribute, we won’t have to use the labelColumnName parameters in our trainer and Evaluate methods anymore since it’s now specified in the data input schema.
var pipeline = context.Transforms.Concatenate("Features", nameof(SalaryData.YearsExperience))
-    .Append(context.Regression.Trainers.Sdca(labelColumnName: nameof(SalaryData.Salary)));
+    .Append(context.Regression.Trainers.Sdca());

...

- var metrics = context.Regression.Evaluate(testPredictions, labelColumnName: nameof(SalaryData.Salary));
+ var metrics = context.Regression.Evaluate(testPredictions);
Now that we have our metrics, we can use the standard Console.WriteLine to print them. Each machine learning task has its own set of metrics. For regression, we will use R Squared and Mean Absolute Error.
Console.WriteLine($"R^2 - {metrics.RSquared}");
Console.WriteLine($"MAE - {metrics.MeanAbsoluteError}");
Running this, we get something like the following:
R^2 - 0.9773068980681011
MAE - 2962.349609375
R Squared is nice at around 98% and mean absolute error is off, on average, by almost $3,000.
With the metrics saying we have a fairly decent model, let’s do another test to make a prediction on it. Then, we can save the model out to a file to be able to host it somewhere for production use.
To make a prediction on a single new data item, we can create a new instance of the SalaryData with the YearsExperience filled in. Since I currently have 18 years of software development experience, we’ll use that.
var newData = new SalaryData
{
    YearsExperience = 18f
};
To make a prediction, we need to create a prediction engine. To do this, not only does it need the model, but it also needs the schema of our input data as well as a schema for the data that will be our prediction. We defined our SalaryData earlier for our input data but not yet for our output data, which we’ll call SalaryPrediction.
public class SalaryPrediction
{
    public float PredictedSalary { get; set; }
}
With a simple data schema with only one property, PredictedSalary, defined we can now create the prediction engine.
var predictionFunc = context.Model.CreatePredictionEngine<SalaryData, SalaryPrediction>(model);
Note that the prediction engine here isn’t thread-safe if you were to use it in an API. So one engine can safely handle one prediction at a time.
And with the engine created we can use it to make a prediction on our new data.
var prediction = predictionFunc.Predict(newData);
If you run this, you will actually get an error.
Unhandled exception. System.Reflection.TargetInvocationException: Exception has been thrown by the target of an invocation.
 ---> System.PlatformNotSupportedException: Dynamic code generation is not supported on this platform.
This is due to file-based applications defaulting to publishing with native AOT (ahead-of-time). Though it is for publishing the PublishAot property also controls behaviors outside of publish, which is why this error is occurring during the run. To bypass this error we can use the property directive to set to publish AOT to false. Based on the error it is using dynamic code which is generating code at runtime, so it needs AOT off to work. This would be at the top of the file.
#:property PublishAot=false
While this will run without an error, something strange happens for our prediction.
R^2 - 0.977278542203149
MAE - 2978.1650390625
Prediction - 0
You may have spotted that the prediction came out to be 0. And no matter how many times you run it, it will always show 0. This is due to the issue earlier about having the right column names that ML.NET expects. By default, the output for a regression model is Score. Since that doesn’t match any columns in our output schema it doesn’t know where to map it so that stays as 0. To fix this, we could change the property name to Score, but we lose a bit of readability with that. Instead, we can use the ColumnName here again to set that.
public class SalaryPrediction
{
+   [ColumnName("Score")]
    public float PredictedSalary { get; set; }
}
Now, we get our prediction of nearly $200,000.
R^2 - 0.9768924387287845
MAE - 3006.755859375
Prediction - 197337.8
If you look closely at the dataset we’re using, it only goes up to 10.5 years, so we’re predicting data that is outside of the scope of this dataset. The metrics only describe how well it does predictions inside that data range. Doing this is called extrapolation.
To save our model to a file, we can use the context.Model.Save method. This takes in the model object, but it also needs to know what schema the data is in for the model to use, which is why the data.Schema property is also passed in. Then we give it the name we want it to save as.
context.Model.Save(model, data.Schema, "salary-model.zip");
All of this is in one file and the entire code is below.
#:package Microsoft.ML@5.0.1
#:property PublishAot=false

using Microsoft.ML;
using Microsoft.ML.Data;

var context = new MLContext(seed: 42);

// Load data
var data = context.Data.LoadFromTextFile<SalaryData>("./SalaryData.csv", hasHeader: true, separatorChar: ',');

// Split data
var splitData = context.Data.TrainTestSplit(data, testFraction: 0.2);

// Build model
var pipeline = context.Transforms.Concatenate("Features", nameof(SalaryData.YearsExperience))
    .Append(context.Regression.Trainers.Sdca());

var model = pipeline.Fit(splitData.TrainSet);

var testPredictions = model.Transform(splitData.TestSet);

var metrics = context.Regression.Evaluate(testPredictions);

Console.WriteLine($"R^2 - {metrics.RSquared}");
Console.WriteLine($"MAE - {metrics.MeanAbsoluteError}");

context.Model.Save(model, data.Schema, "salary-model.zip");

// Predict
var newData = new SalaryData
{
    YearsExperience = 18f
};

var predictionFunc = context.Model.CreatePredictionEngine<SalaryData, SalaryPrediction>(model);

var prediction = predictionFunc.Predict(newData);

Console.WriteLine($"Prediction - {prediction.PredictedSalary}");

public class SalaryData
{
    [LoadColumn(0)]
    public float YearsExperience { get; set; }

    [LoadColumn(1)]
    [ColumnName("Label")]
    public float Salary { get; set; }
}

public class SalaryPrediction
{
    [ColumnName("Score")]
    public float PredictedSalary { get; set; }
}
While the core ML.NET API hasn’t changed in recent years the ecosystem around it has. With the new file-based applications, it’s much easier to get started creating and experimenting with your pipelines. Once you have your model trained and saved it can be loaded in .NET applications to make predictions without needing to rely on Python.
Is ML.NET still worth learning? An honest look at where it beats an LLM, where it falls short, and a cheat sheet for choosing the right .NET AI tool.
Build a URL uptime checker in a single C# file with .NET 10 file-based apps. No project or solution needed, plus NuGet packages.
Read and write Parquet files in C# with Parquet.NET, and see why Parquet beats CSV for large datasets. Includes a complete example.